How to Decorate with Royal Icing
This post may contain affiliate links. Please read the disclosure policy.

Have I mentioned that I love decorating with royal icing? Royal icing is so beautiful to use on cutout cookies. It dries into a hard, smooth, matte finish. Yesterday I posted the Halloween Sugar Cookies that I made for my coworkers and I had many people ask me for the royal icing recipe. So here it is! 🙂
Pin this recipe now to remember it later
How to Decorate with Royal Icing
Ingredients
Make the royal icing:
- 4 cups powdered sugar
- 2 tablespoons meringue powder
- 6 tablespoons water
Want to save this recipe? Enter your email below and we'll send the recipe straight to your inbox!
NOTE: By saving this recipe, you agree to join our weekly recipes newsletter.
Instructions
- First you need to find a great sugar cookie recipe. My favorite ones are the Soft and Chewy Sugar Cookies from Baking Illustrated. They are amazing!
- Gather all the equipment that you will need to decorate. Cute cookie cutters, disposable decorating bags, decorating tips (tips #1, #2, and #3), couplers, squeeze bottles, rubber bands, icing colors, toothpicks, and small bowls.
- Before you start decorating, make sure that your cookies are completely cool.
Plan what kinds of designs that you are going to make on your cookies. I find it much easier to draw a picture of what you want your final design to look like and write down each color that you will need. Make sure that you have enough decorating bags, couplers, and small bowls for each color. Take note of what you want your flood color (or background color to be) and make sure you have enough squeeze bottles for each color. - In the bowl of a stand mixer fitted with the paddle attachment, combine powdered sugar and meringue powder. Add water and mix on low speed for 7-10 minutes. Add more water by the teaspoon if it appears too stiff. You want to be able to pipe it easily.
- Evenly divide the icing into containers based on the number of colors you will be using. Cover with a lid or a wet paper towel when not using so that it does not dry out.
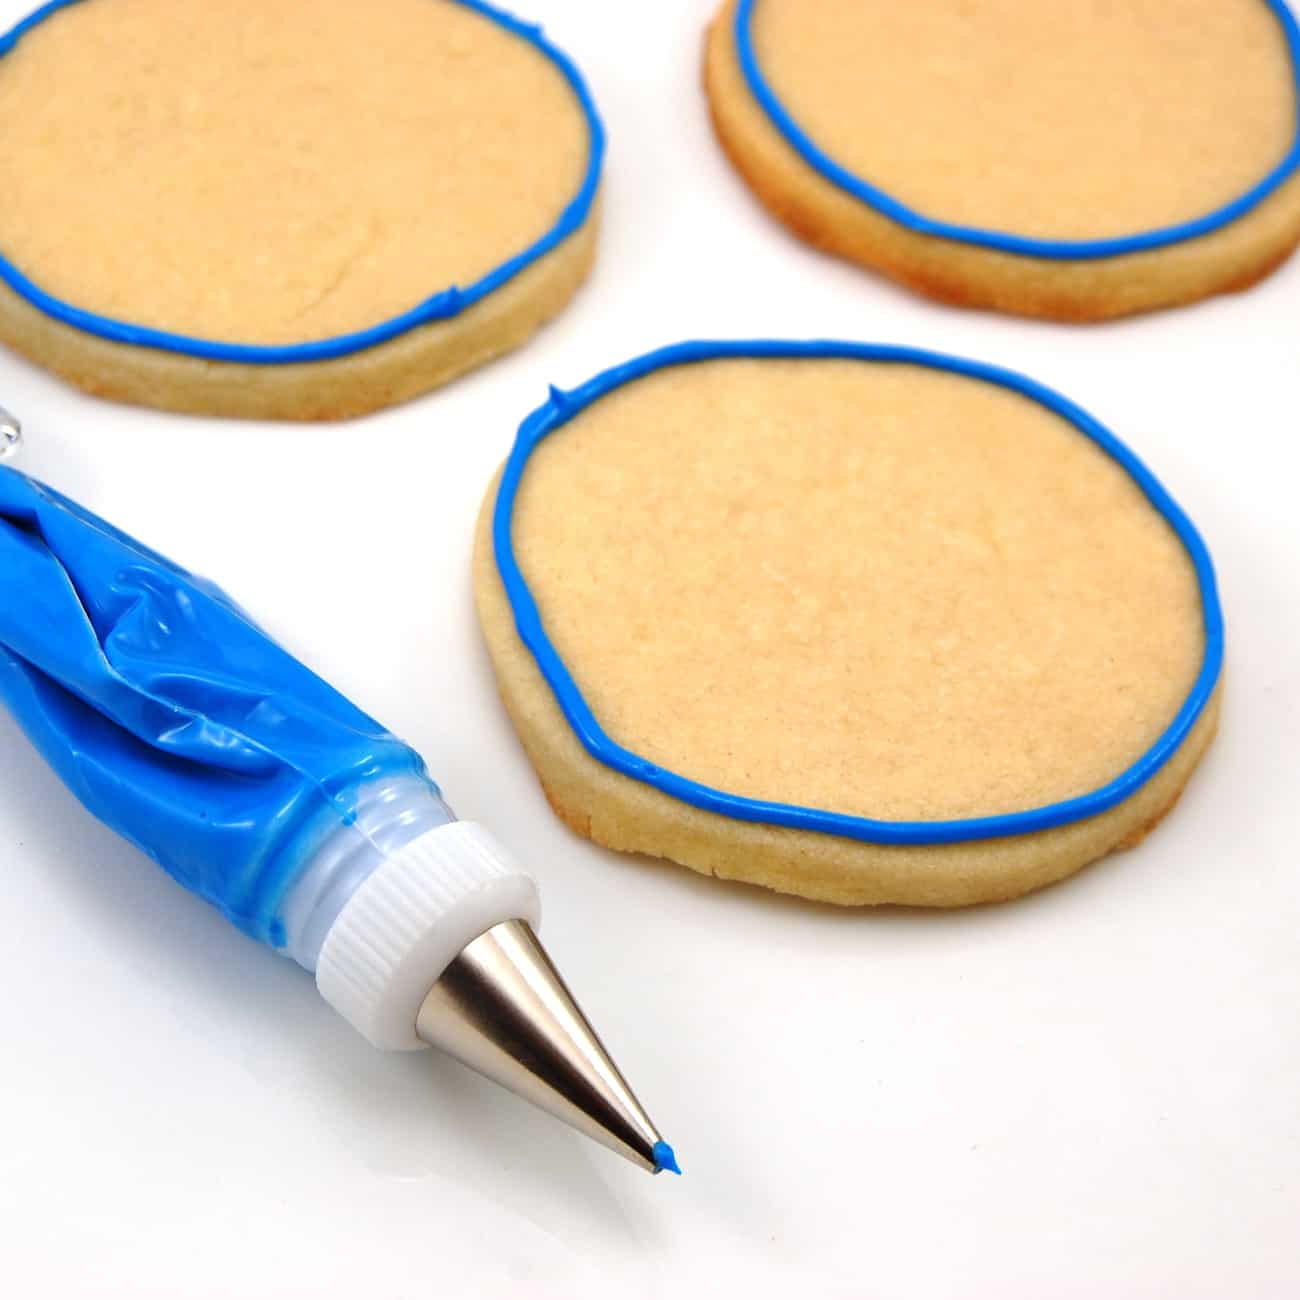
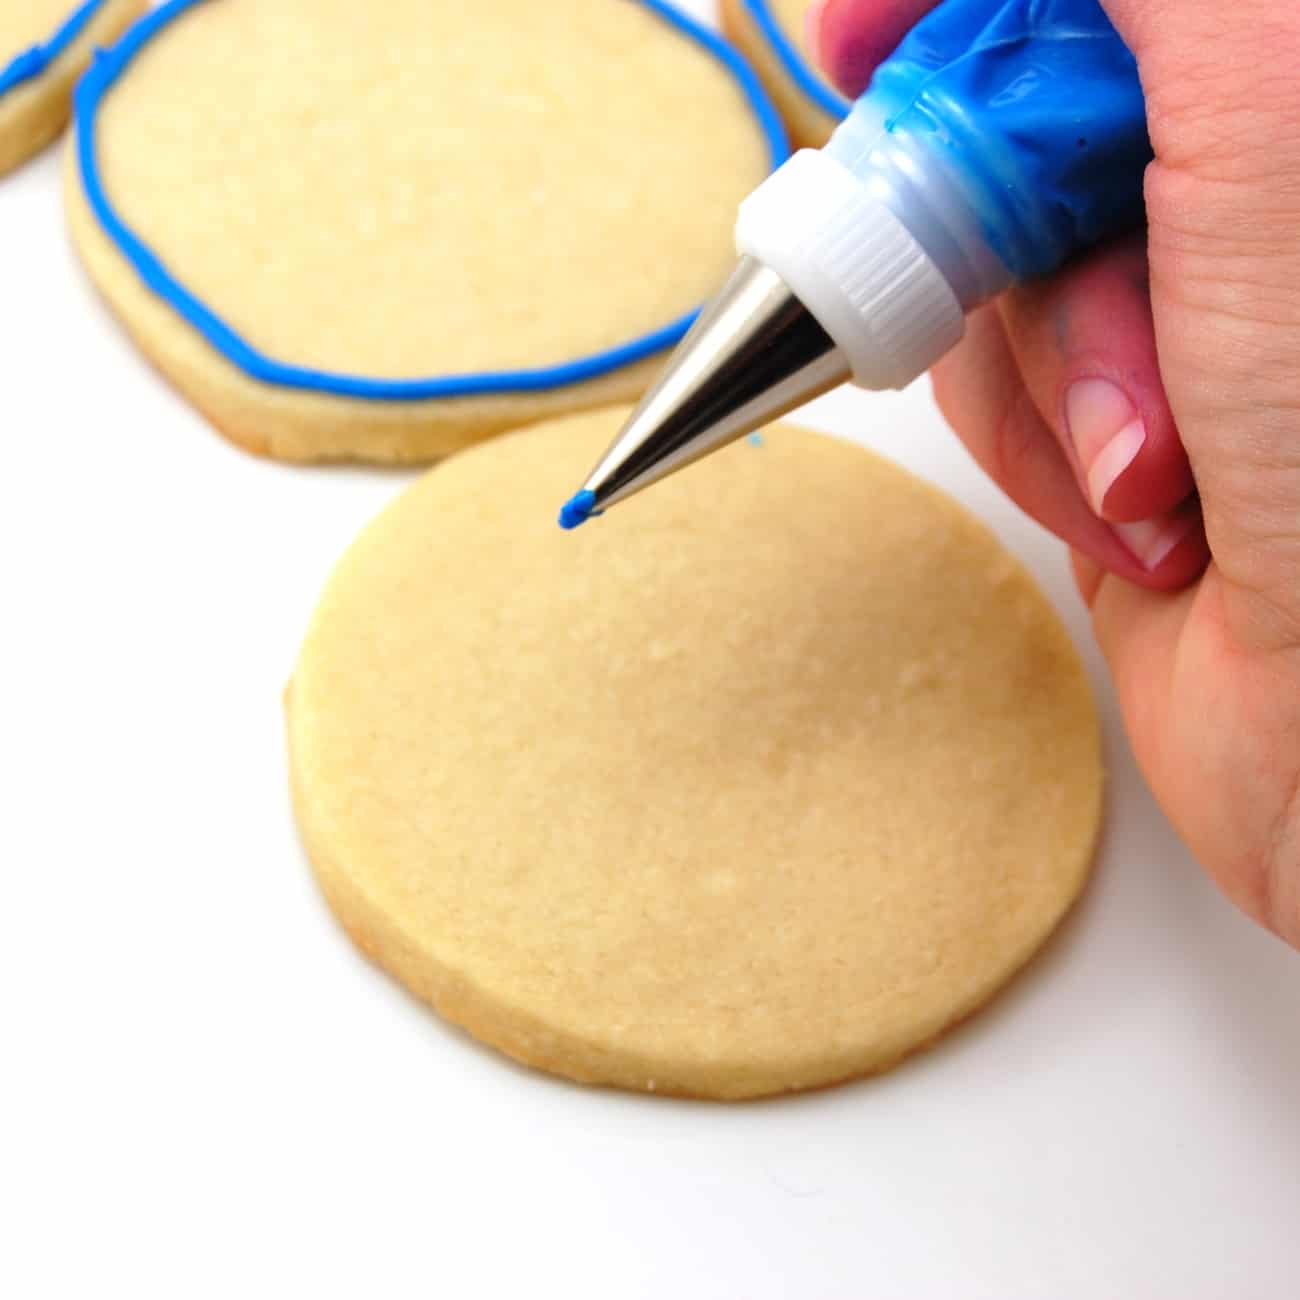
Cut off the ends of your disposable piping bags, insert the coupler, and tip. I like to use a number 2 or 3 piping tip to outline my cookies. Transfer some of the icing into the prepared disposable bags and seal the top closed with a rubber band so it is less messy. - Outline the cookies with whatever color you want to flood (background) them. Outline the outside of the cookie using the prepared disposable bags. When you’re outlining the cookie, keep the tip at a 45 degree angle about about 1/2 inch away from the cookie, so that the icing just falls onto the surface. It is much easier to control your piping this way.
- Let sit until dry, about 15 to 20 minutes.
- Once the outlines are dry you can flood the cookie. Add a few drops of water to the remaining icing in the small bowls until you get the correct consistency. To check for the proper consistency, dip a spoon into the icing and lift it up. The ribbons of icing drizzling into the bowl should disappear and become flat again within 10 seconds. Fill each squeeze bottle with the thinned icing.
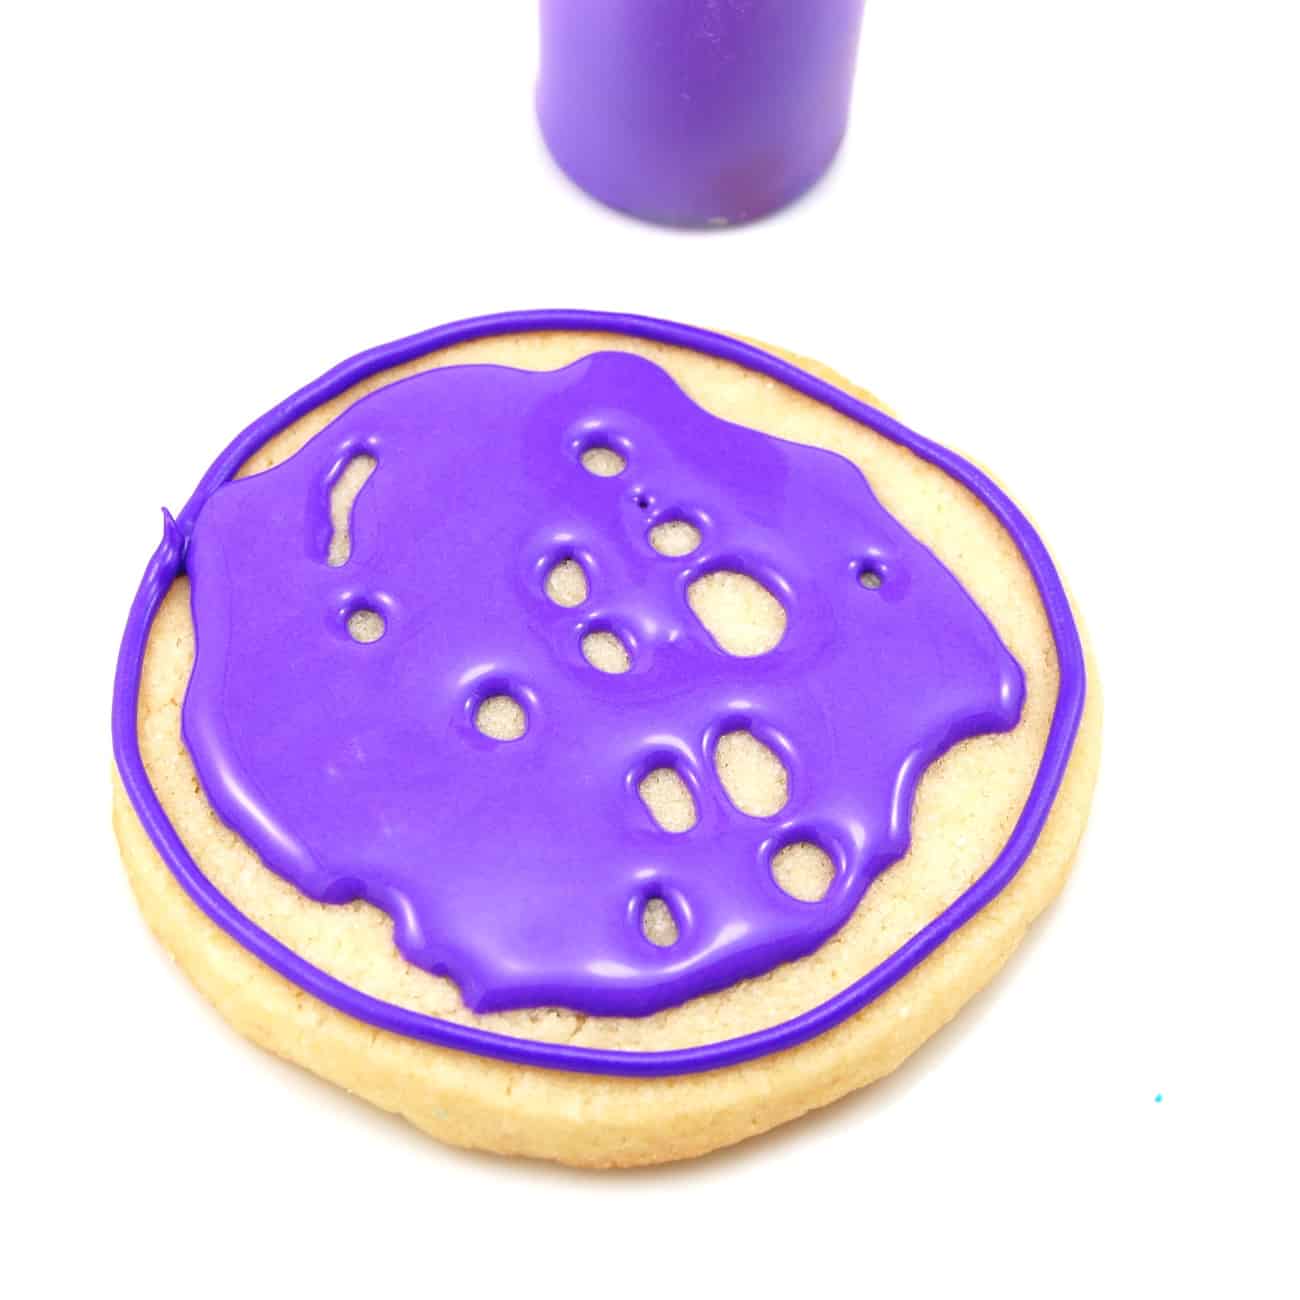
- To flood the cookie, using the prepared squeeze bottles start at one area and quickly zig zag back and forth until you have almost completely covered the cookie.
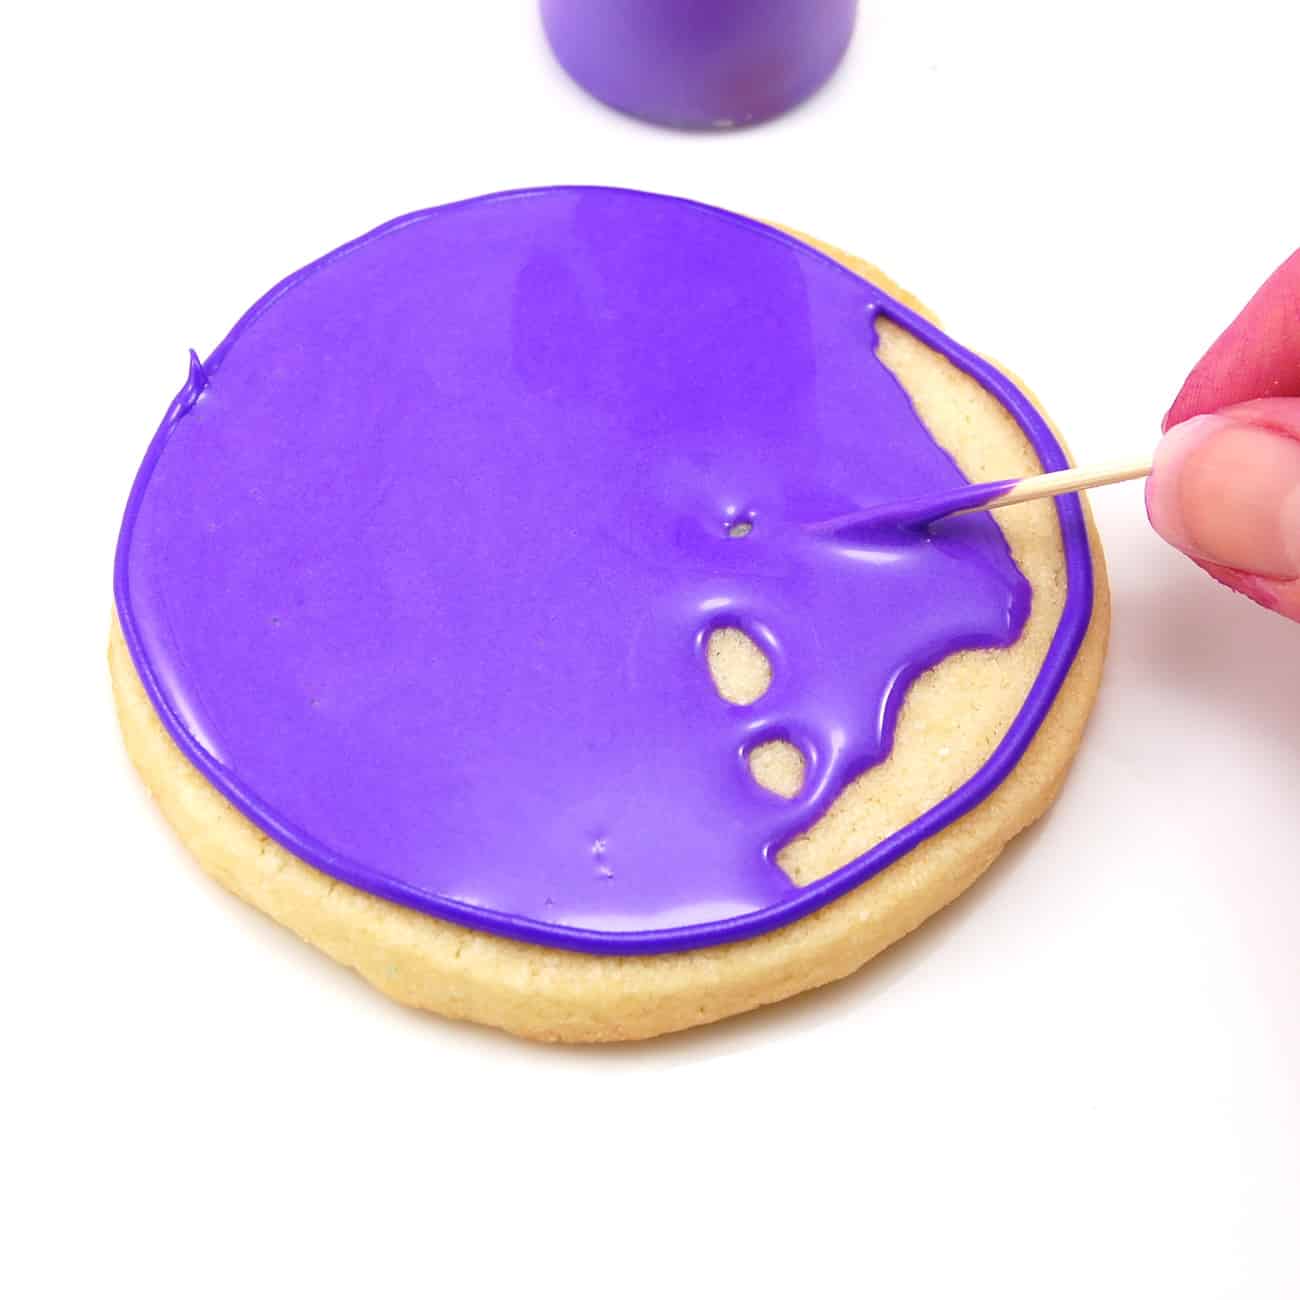
- Then take a toothpick and gently use it to distribute the icing to any empty spots. Shake the cookie gently to help settle the bumps if there are any. If you notice any small air bubbles, pop them with a toothpick. Once the cookies are completely flooded, let them sit 2 to 3 hours before adding any additional designs/details to the cookies.
- Decorating Tips:
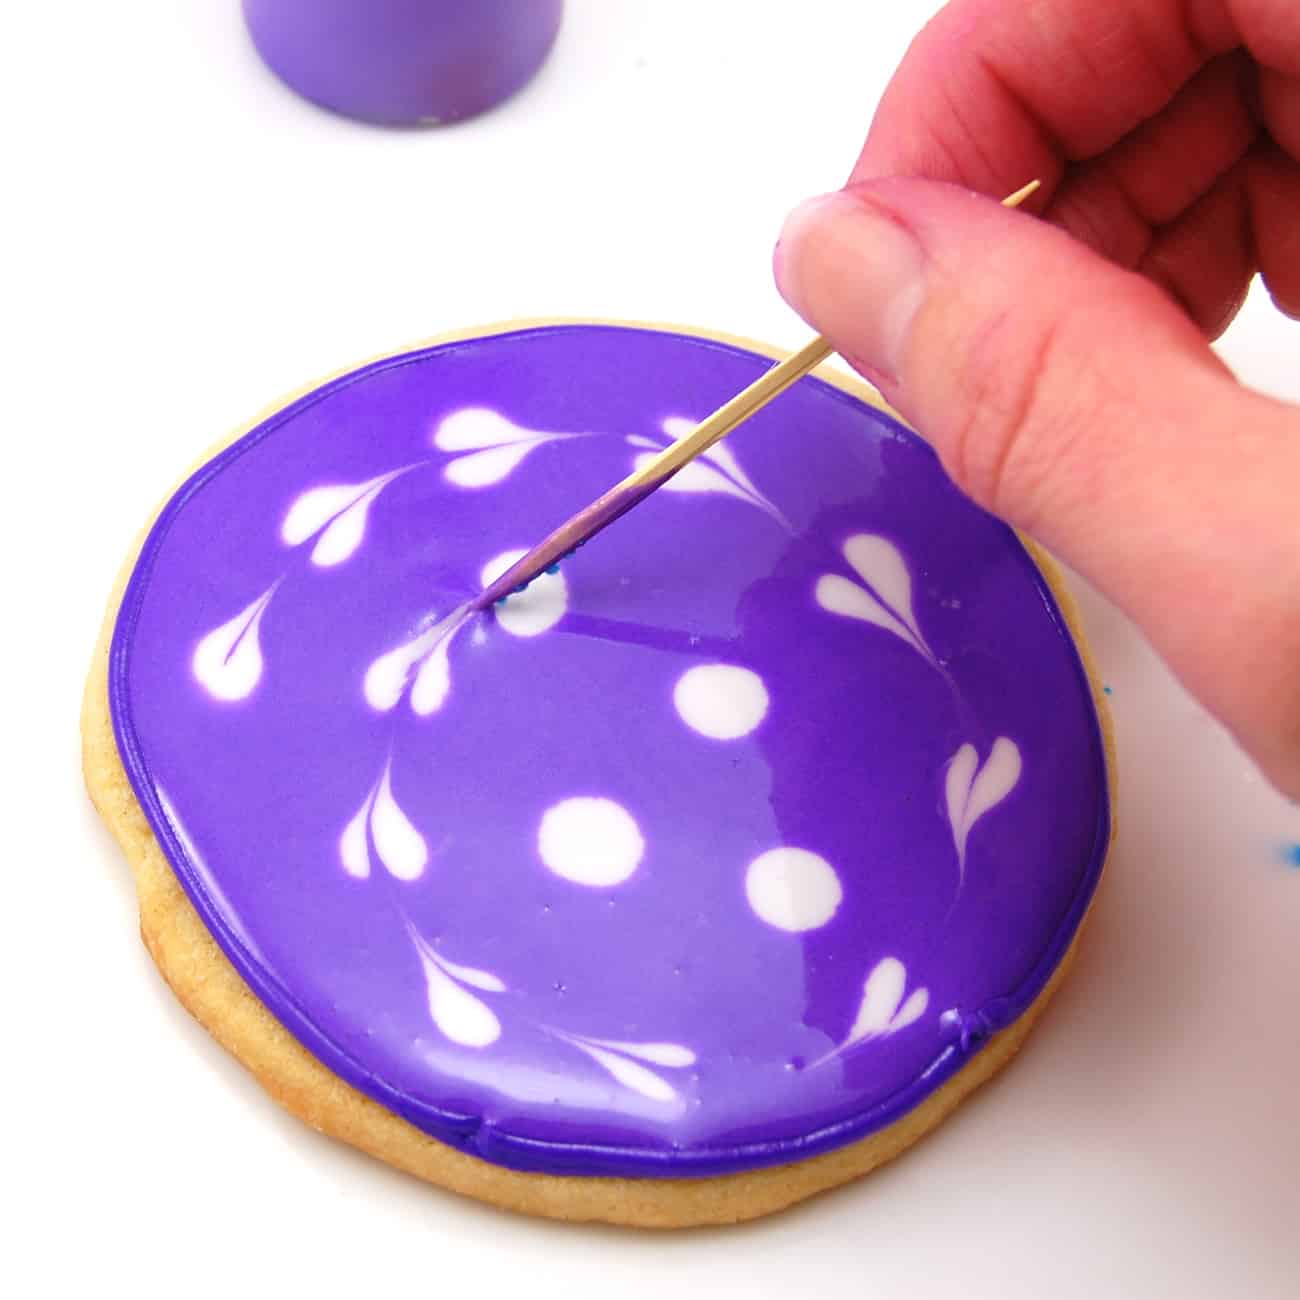
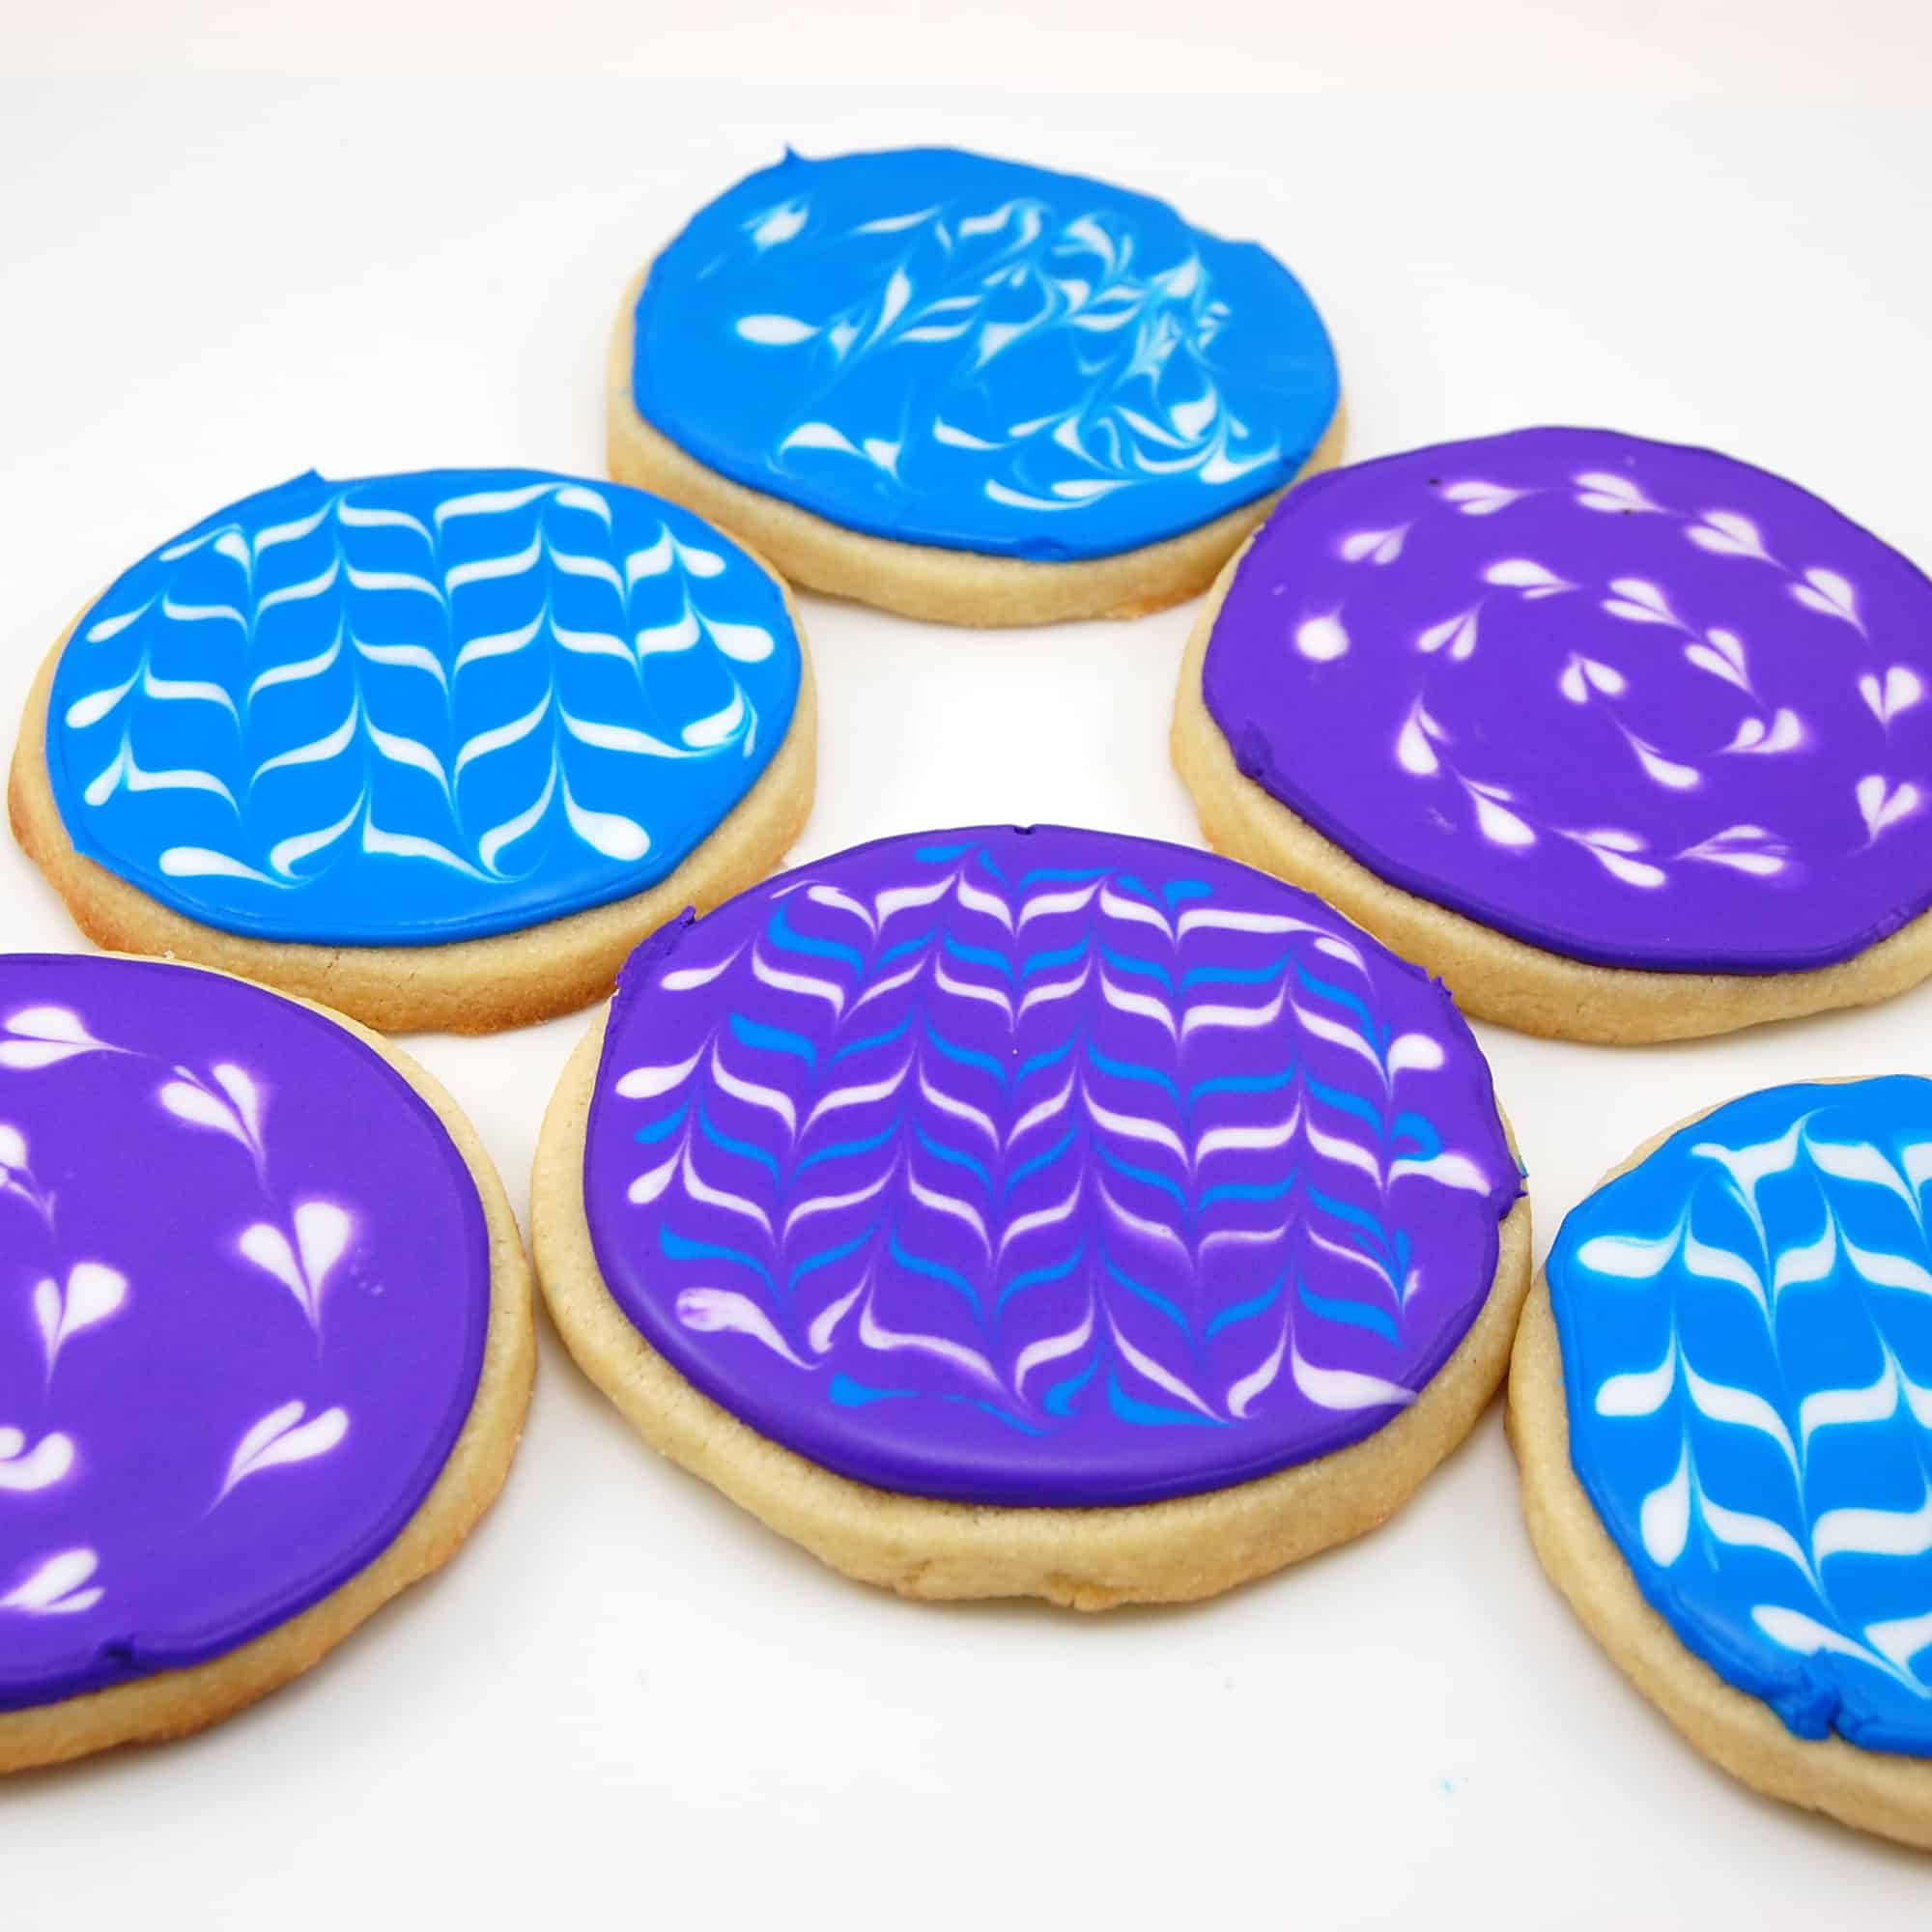
Glitter: If you want to decorate with glitter or sanding sugar, shake it over the flooded wet cookie. Let dry completely and shake off any excess glitter. - Marbling: sometimes called swirling or feathering is the process of adding one or more colors of icing through the wet flooded icing.
- Then a toothpick is used to pull the icing into swirls creating the marbleized look.
- Hearts: You can create hearts by piping dots into wet flooded icing and dragging the toothpick through the center of each dot.
Notes
Source: adapted from Sweetopia
Follow me on Pinterest for daily delicious recipes!
